A chip in wall paint is small, but it’s the kind of flaw the eye finds every time it passes. A chip can be repaired in an afternoon with a putty knife, some filler and a little patience, and the repair can disappear completely if it’s sanded flush and blended well, all without repainting the entire wall. A chip comes back when whatever caused it never gets fixed.
Can you just paint over chipped paint?
Homeowners often ask whether they can simply paint over a chip, and the answer is no. The edge of a chip is paint that has already let go, and new paint laid across it grips that loose edge instead of the wall, so it lifts again. Loose paint has to come off, the edges need sanding to a gentle slope, and the dip has to be filled so it sits flush with the wall around it.
Before any repair, check how well the rest of the paint is holding. Sherwin-Williams suggests testing the coating in a 6 to 12 inch radius around a failed area. If the paint lifts there too, the problem is bigger than one chip, and the wall needs more than a spot repair.
Why does wall paint chip in the first place?
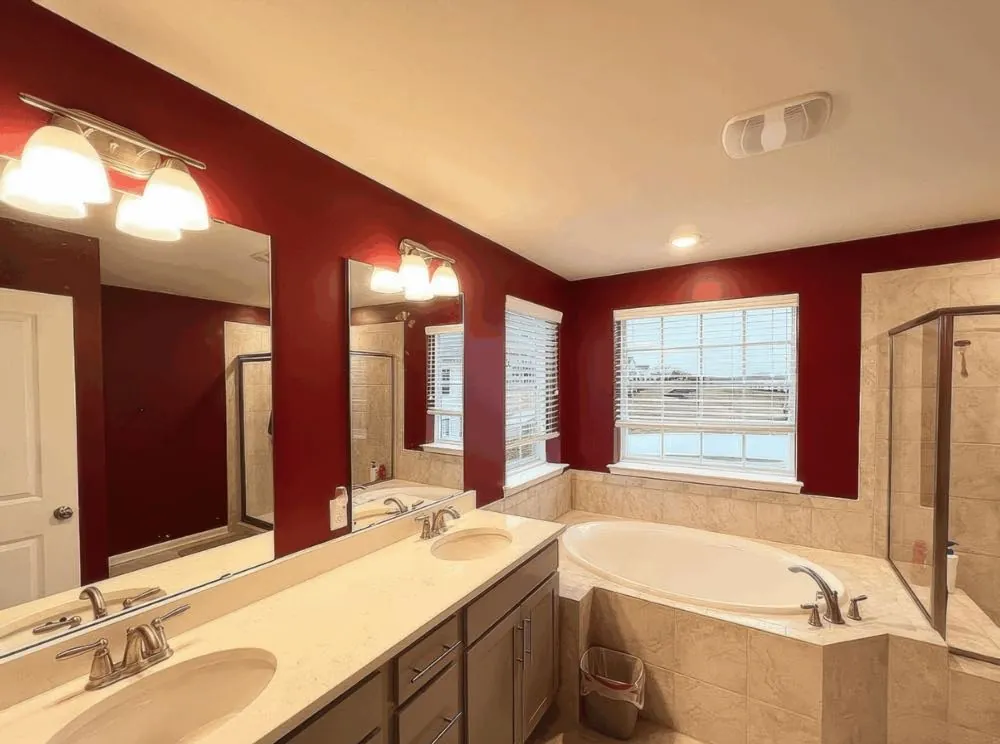
Paint chips, flaking paint and peeling paint all happen when the film loses its grip on the surface under it. Moisture, gloss and dust are the most common causes of paint failure, and each one is easy to recognize once you know it.
- Knocks and scrapes from furniture, doors, chair backs and moving boxes
- Paint over gloss, where a new coat went onto old paint that’s still slick, without sanding first
- Dust or grease left on the wall before it was painted
- Moisture from showers and cooking, in bathrooms, kitchens and laundry rooms
- Thick coats put on without enough drying time between them
- Missing or mismatched primer over patches, bare drywall or glossy paint
Moisture is the cause that brings chips back. Sherwin-Williams says moisture from cooking and showering pushes paint off walls and ceilings, and recommends an exhaust fan in any bathroom with a shower. Repair a bathroom chip without fixing the ventilation, and the same spot tends to fail again. Kitchen cabinets fail for some of the same reasons, plus a few of their own, and why cabinet paint peels covers them.
Check the house’s age before you scrape or sand
How to fix chipped paint on walls, step by step
Fixing paint chips on a wall comes down to a short sequence: scrape away the loose edges, fill the dip with spackle, sand it flush, spot-prime the repair and apply paint around it, feathering the new paint into the wall around it. Gather the tools first. Surface preparation decides whether the patch holds. Proper preparation takes longer than the actual painting, and it’s worth the time.
- A 2-inch and a 4-inch putty knife
- Medium-grit and fine-grit sandpaper, or a sanding sponge
- Lightweight spackle or joint compound
- Primer, and the wall paint in its original sheen
- A small angled brush
- A drop cloth, painter’s tape and a damp microfiber cloth
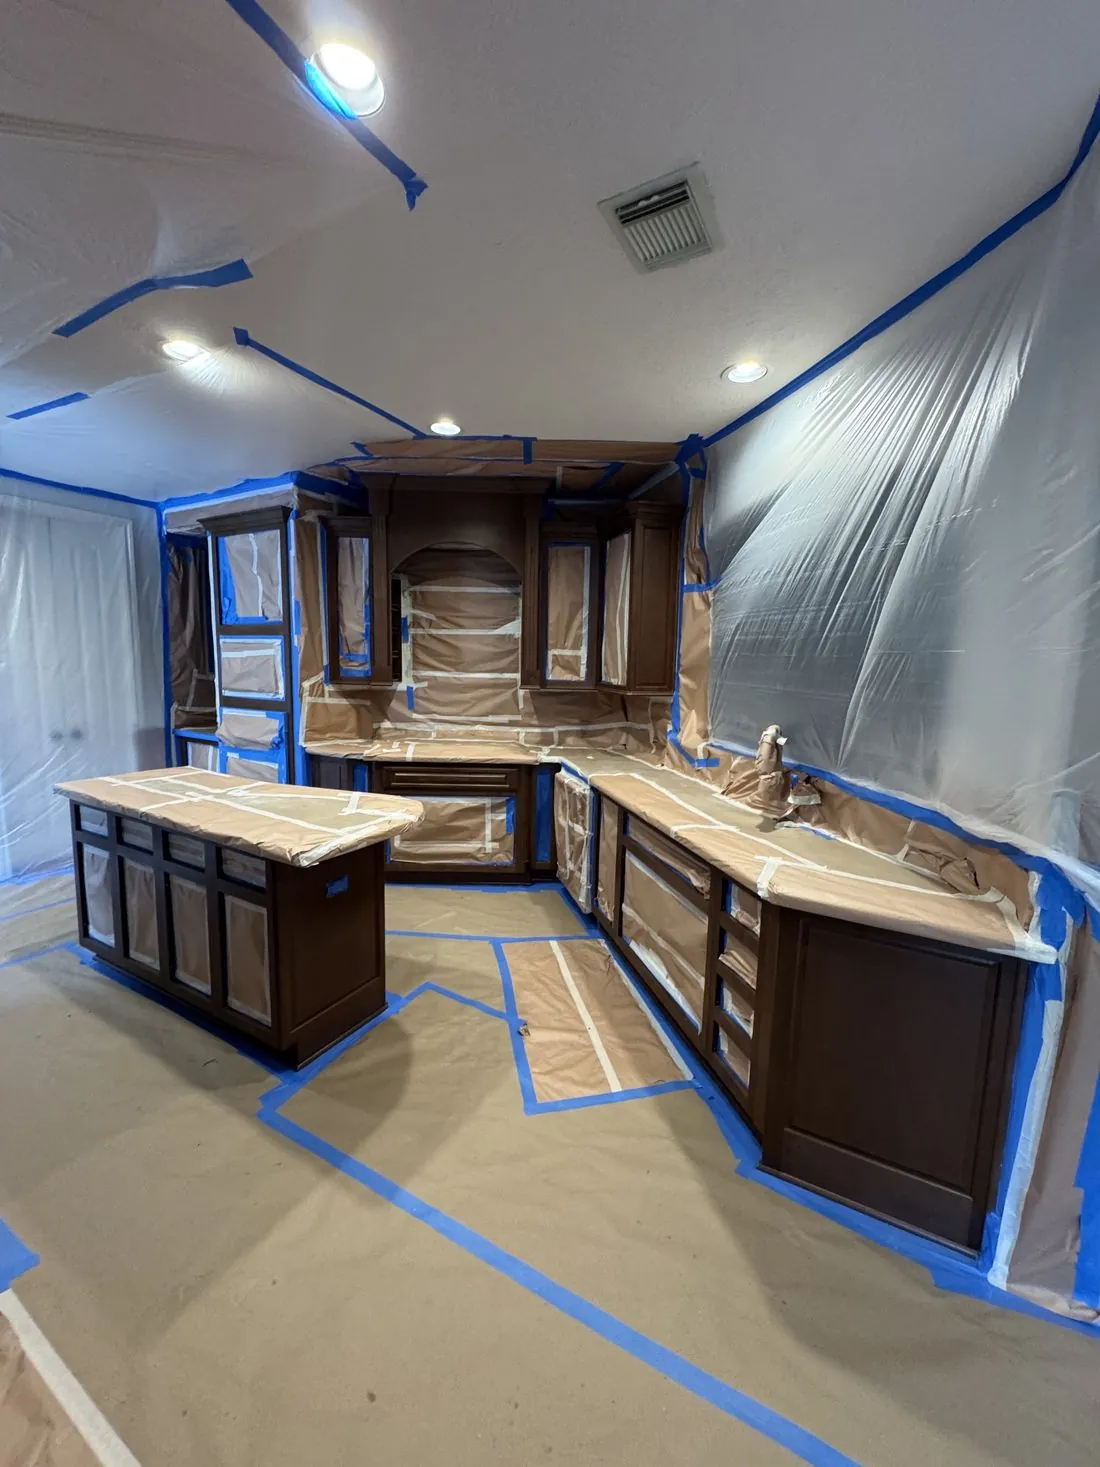
- Protect the area. Lay a drop cloth under the wall and tape off any trim close to the chip.
- Remove loose paint. Lift anything flaking, using a putty knife, until you reach paint that holds firm.
- Feather the edges. Sand the rim of the chip with medium sandpaper so it slopes gently into the wall instead of ending in a ridge.
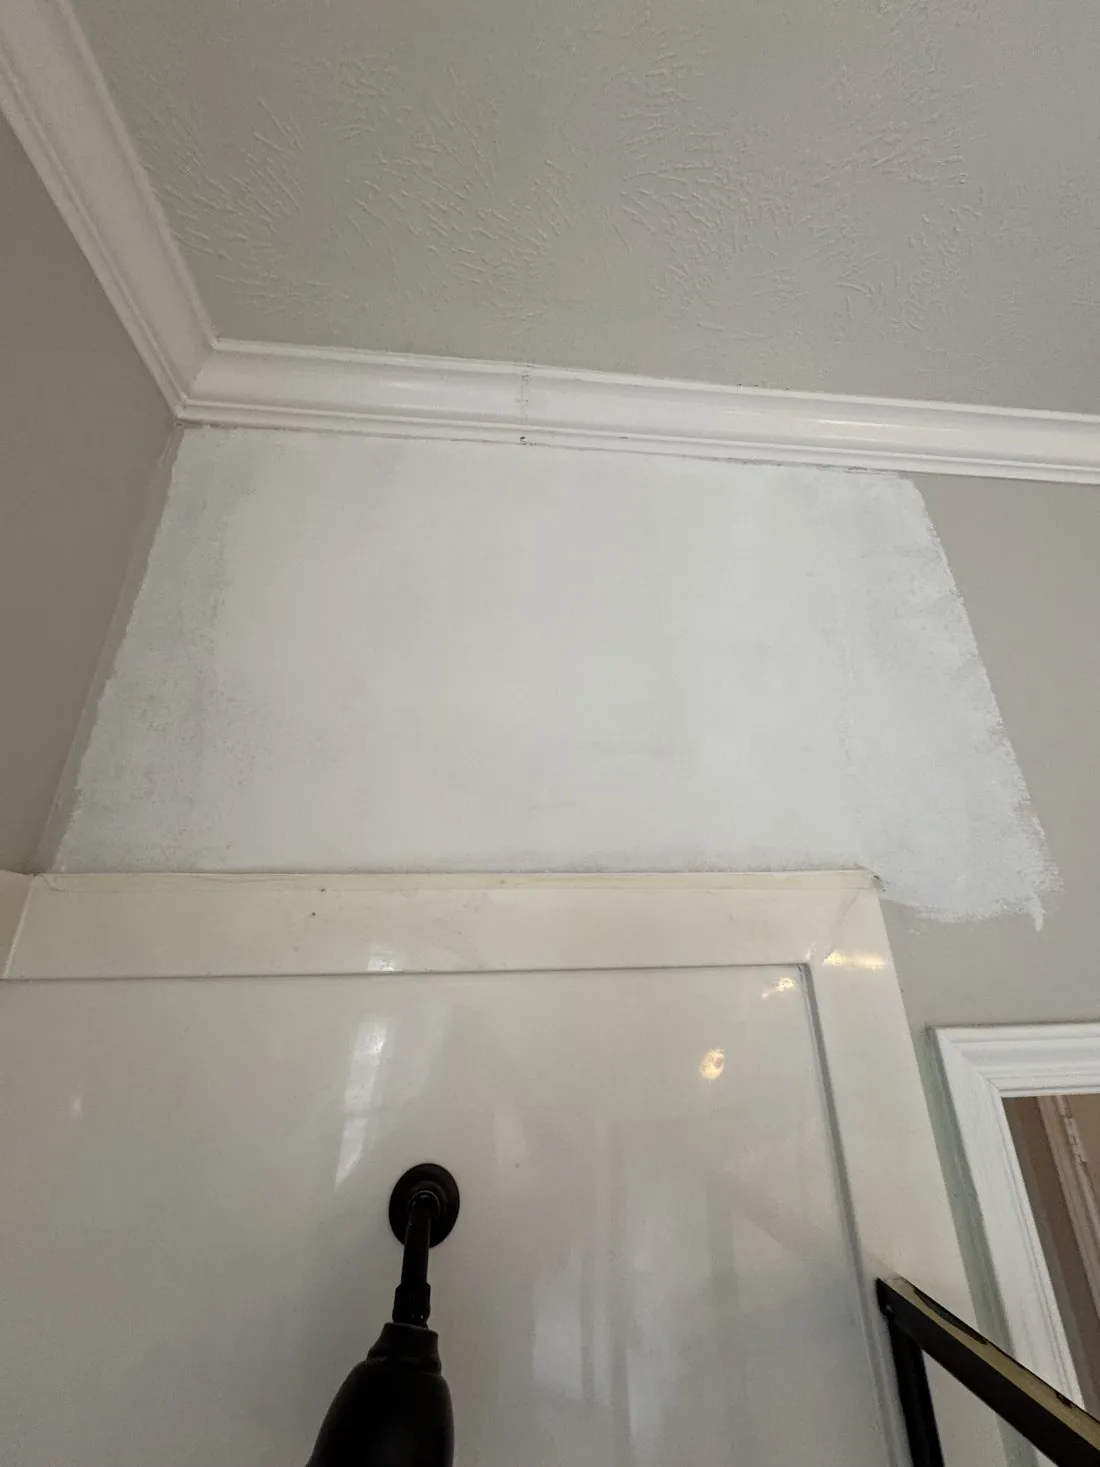
- Fill the chip. Press spackle, sometimes sold as spackling paste or spackling compound, into the dip with the 2-inch knife and scrape it level with the wall.
- Smooth it wider. Draw the 4-inch knife across the patch in a few directions to flatten the edges into a smooth surface that blends with the wall.
- Let it dry completely between layers. Follow the drying time between layers printed on the filler’s label, and give thick fills more of it.
- Sand and wipe. Dry sand the area around the patch with fine-grit sandpaper, then wipe the dust away with a damp cloth.
- Spot-prime. Prime the patch and a little past its edges, so the paint dries evenly over filler and wall alike.
- Paint and feather. Brush paint over the primed area in thin strokes, feathering outward, and add more once it’s dry if the patch still shows.
How do you touch up paint without it showing?
A touch-up disappears when the color, the sheen and the way it goes on all match the wall around it. Use paint from the original can if it’s still good, because even the same color from a new batch can differ slightly, and Sherwin-Williams notes on its trim enamel data sheet that touching up from the same batch improves the result.
Sheen matters as much as color. The Master Painters Institute measures eggshell at 10 to 25 gloss units at a 60 degree angle and satin at 20 to 35, so a patch in the wrong sheen reflects light differently from the paint beside it. Painters call that flashing, it shows most on satin and semi-gloss, and the best paint finish for walls explains the sheen scale in full.
Apply a touch-up with a small brush or a mini roller in thin, even coats, working from the center of the patch outward so the edge fades into the wall. On a glossy wall or a large patch, repainting the whole section of wall from corner to corner often hides the repair better than spot work.
When is a chip really a bigger repair?
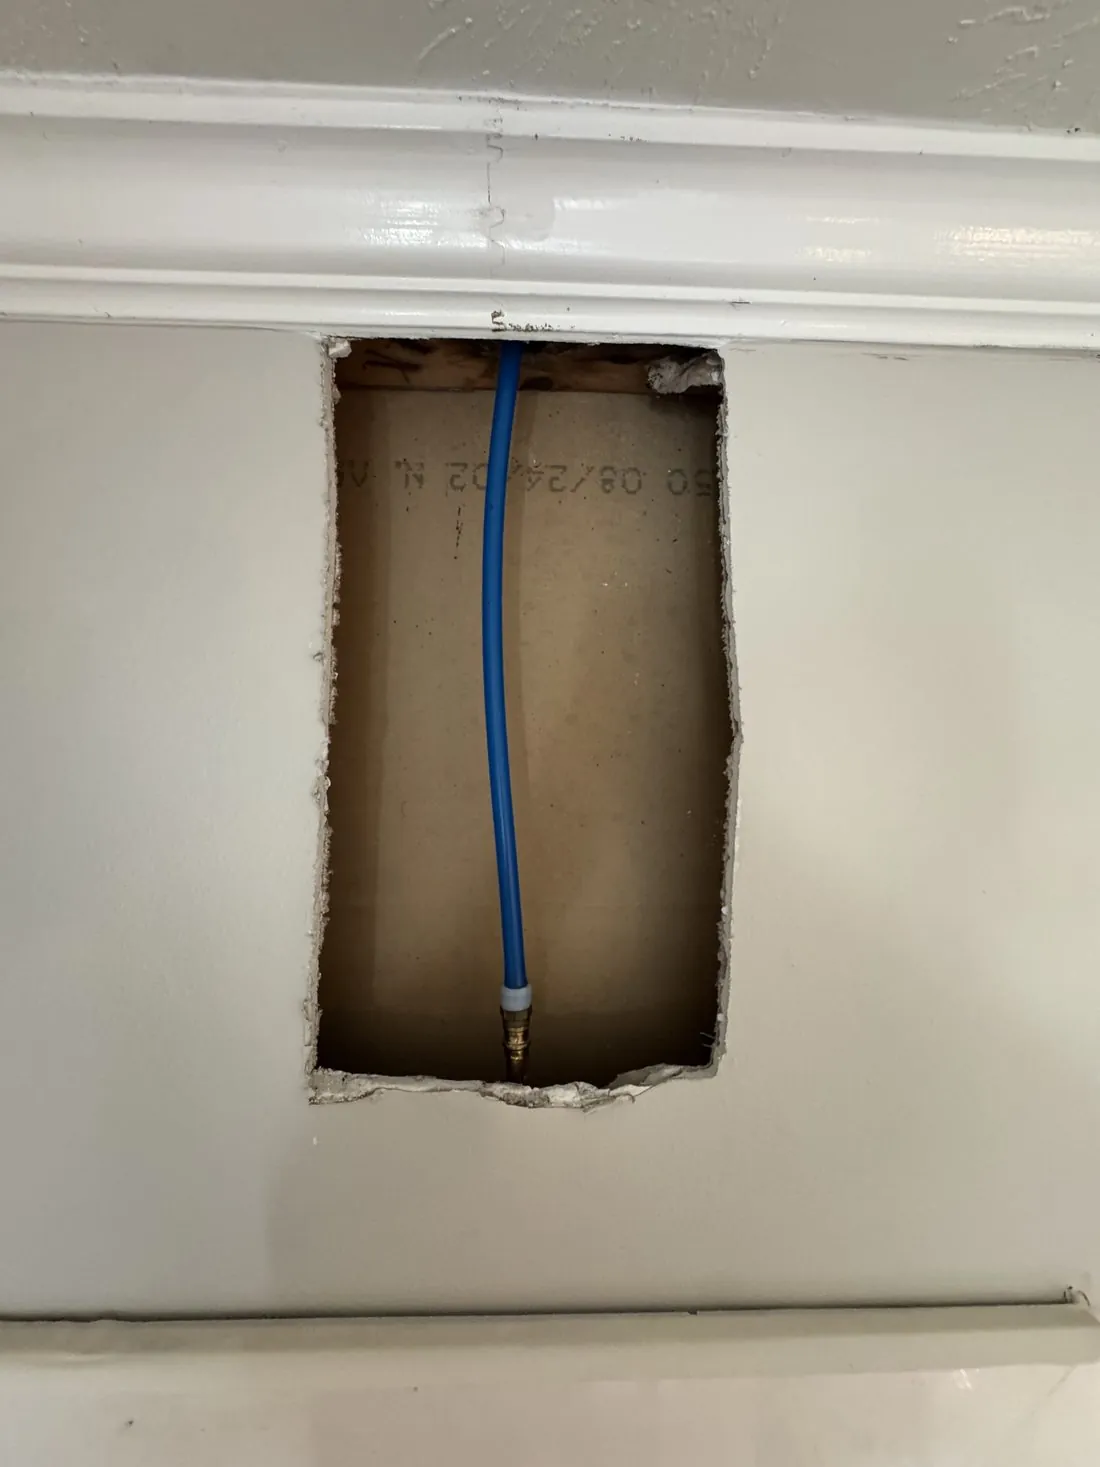
Some damage goes deeper than the paint. When the drywall underneath is soft, crumbling, stained by water or pushed in, filling the surface won’t hold, and the damaged section has to be cut out and replaced. A repair like that starts by opening the wall far enough to see what’s behind it.
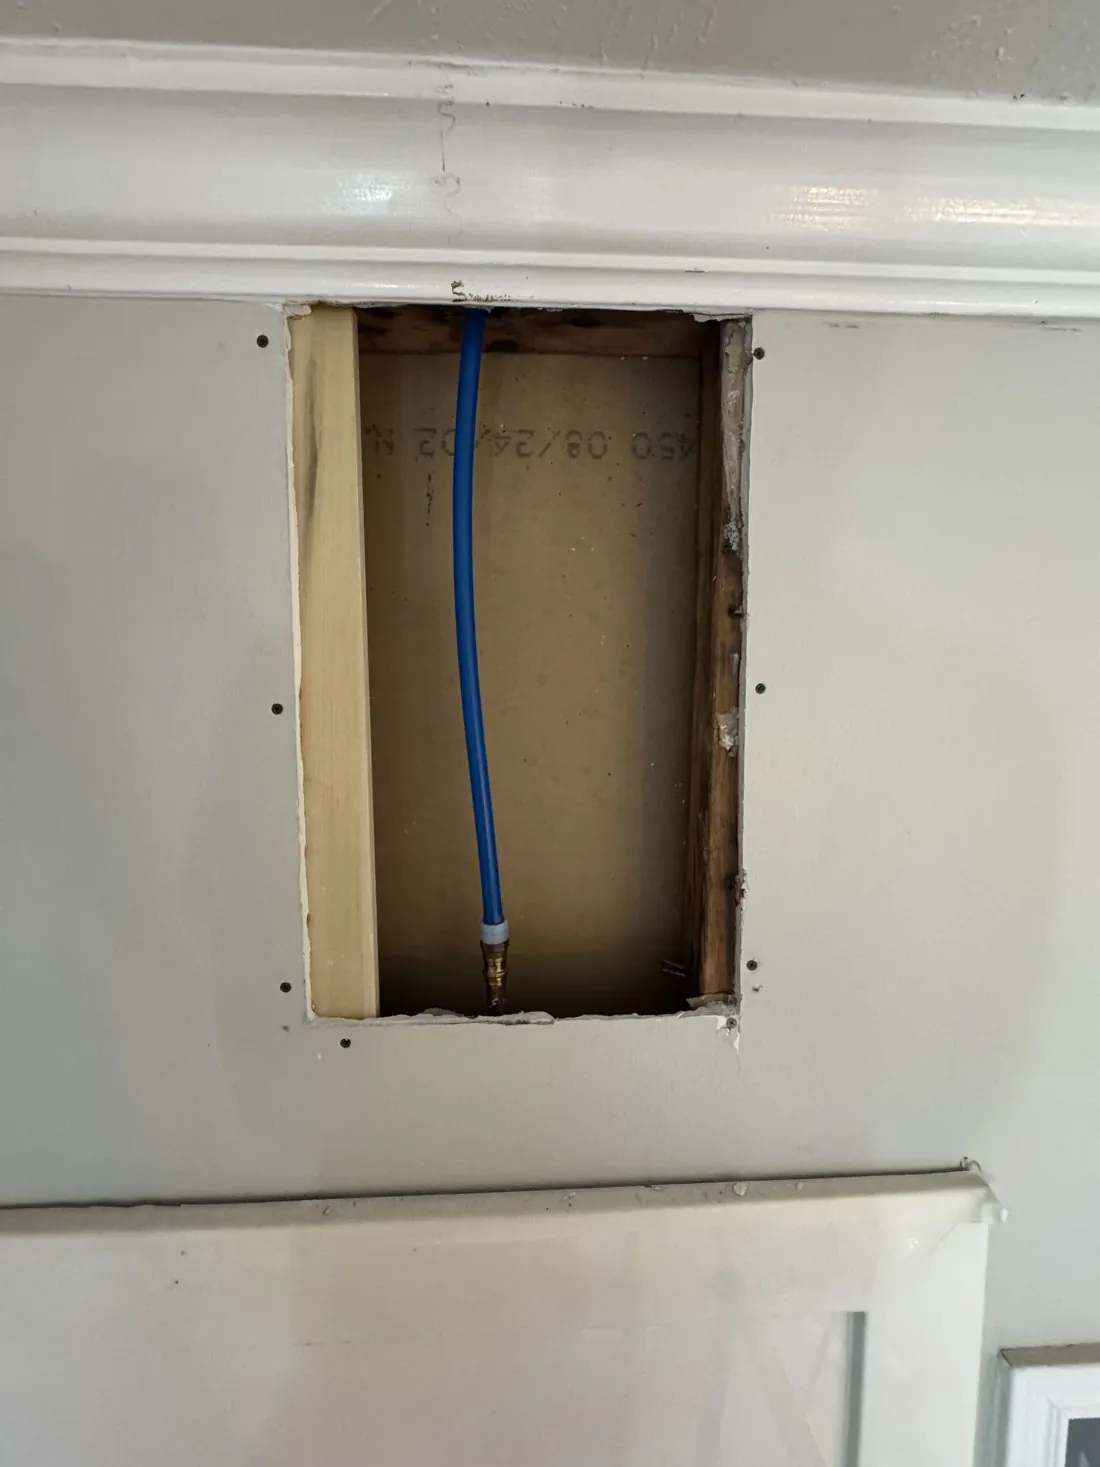
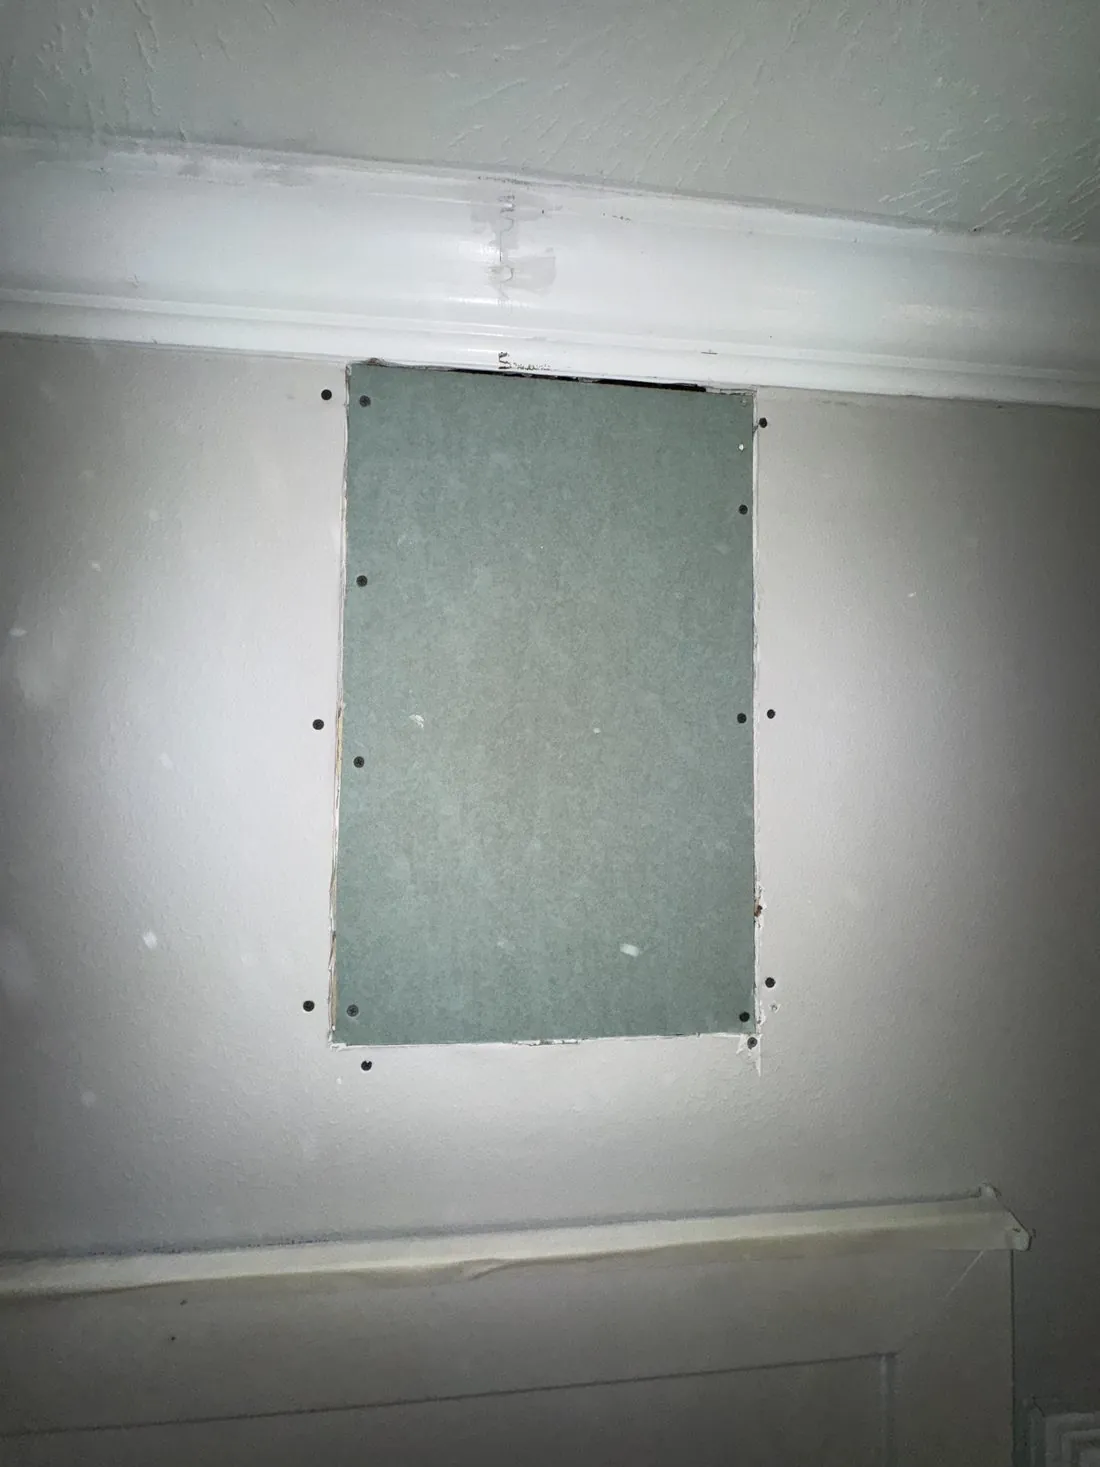
Once the patch is in, it’s taped, covered in joint compound and skimmed out wide before primer and paint go on. On a textured wall, the wall texture needs matching too, which how to paint textured walls covers, and a repair caused by a leak waits until the leak itself is fixed.
“I had a couple of holes left from a leak and now it looks like nothing ever happened.” Darlyn Gomez, Google review
Chips on ceilings and trim
Ceilings get knocked far less than walls, so a chip overhead usually has a cause: a leak, a light fixture, or something that was once fixed to it. The repair follows the same steps, done from a ladder: scrape, fill, sand and spot-prime. Ceilings are usually painted flat, and a flat touch-up blends in more easily than any other sheen, so a careful patch there tends to vanish.
Trim chips for a different reason. Baseboards, door casings and window sills get kicked, scuffed and wiped, and they carry a harder, glossier enamel than the walls around them. A touch-up on trim needs that same enamel in the same sheen, and a chip that goes down to bare wood needs primer first. The full method is in how to paint trim.
“One of their guys fixed the holes in our ceiling, and you could never tell there were any at all” Sienna Gomez, Google review
How to keep chips from coming back
A repair lasts when the reason for the chip is gone, and prevention mostly happens before the paint goes on.
- Sand glossy surfaces dull before painting over them, and use a bonding primer if they still feel slick.
- Clean the wall before painting, so it bonds to the surface and not to grease or dust.
- Prime to suit the surface, especially over patches and bare drywall.
- Paint in thin coats and give each one its full drying time.
- Stop the knocks. A door stop, a chair rail or furniture pads keep the same spot from being hit again.
- Ventilate wet rooms, with an exhaust fan in any bathroom with a shower.
When should you call a painter instead?
A single chip is a good weekend repair. A painter earns the call when there are chips across several walls, when the paint is peeling in sheets instead of chipping in spots, when a bathroom or laundry room keeps failing, or when the house was built before 1978 and the paint hasn’t been tested.
Rise and Prime Painting is an EPA Lead-Safe Certified Firm, and our interior house painting in Houston starts with the prep a wall needs before any paint goes on. For a sense of cost on a larger project, the painting cost calculator gives a ballpark first.