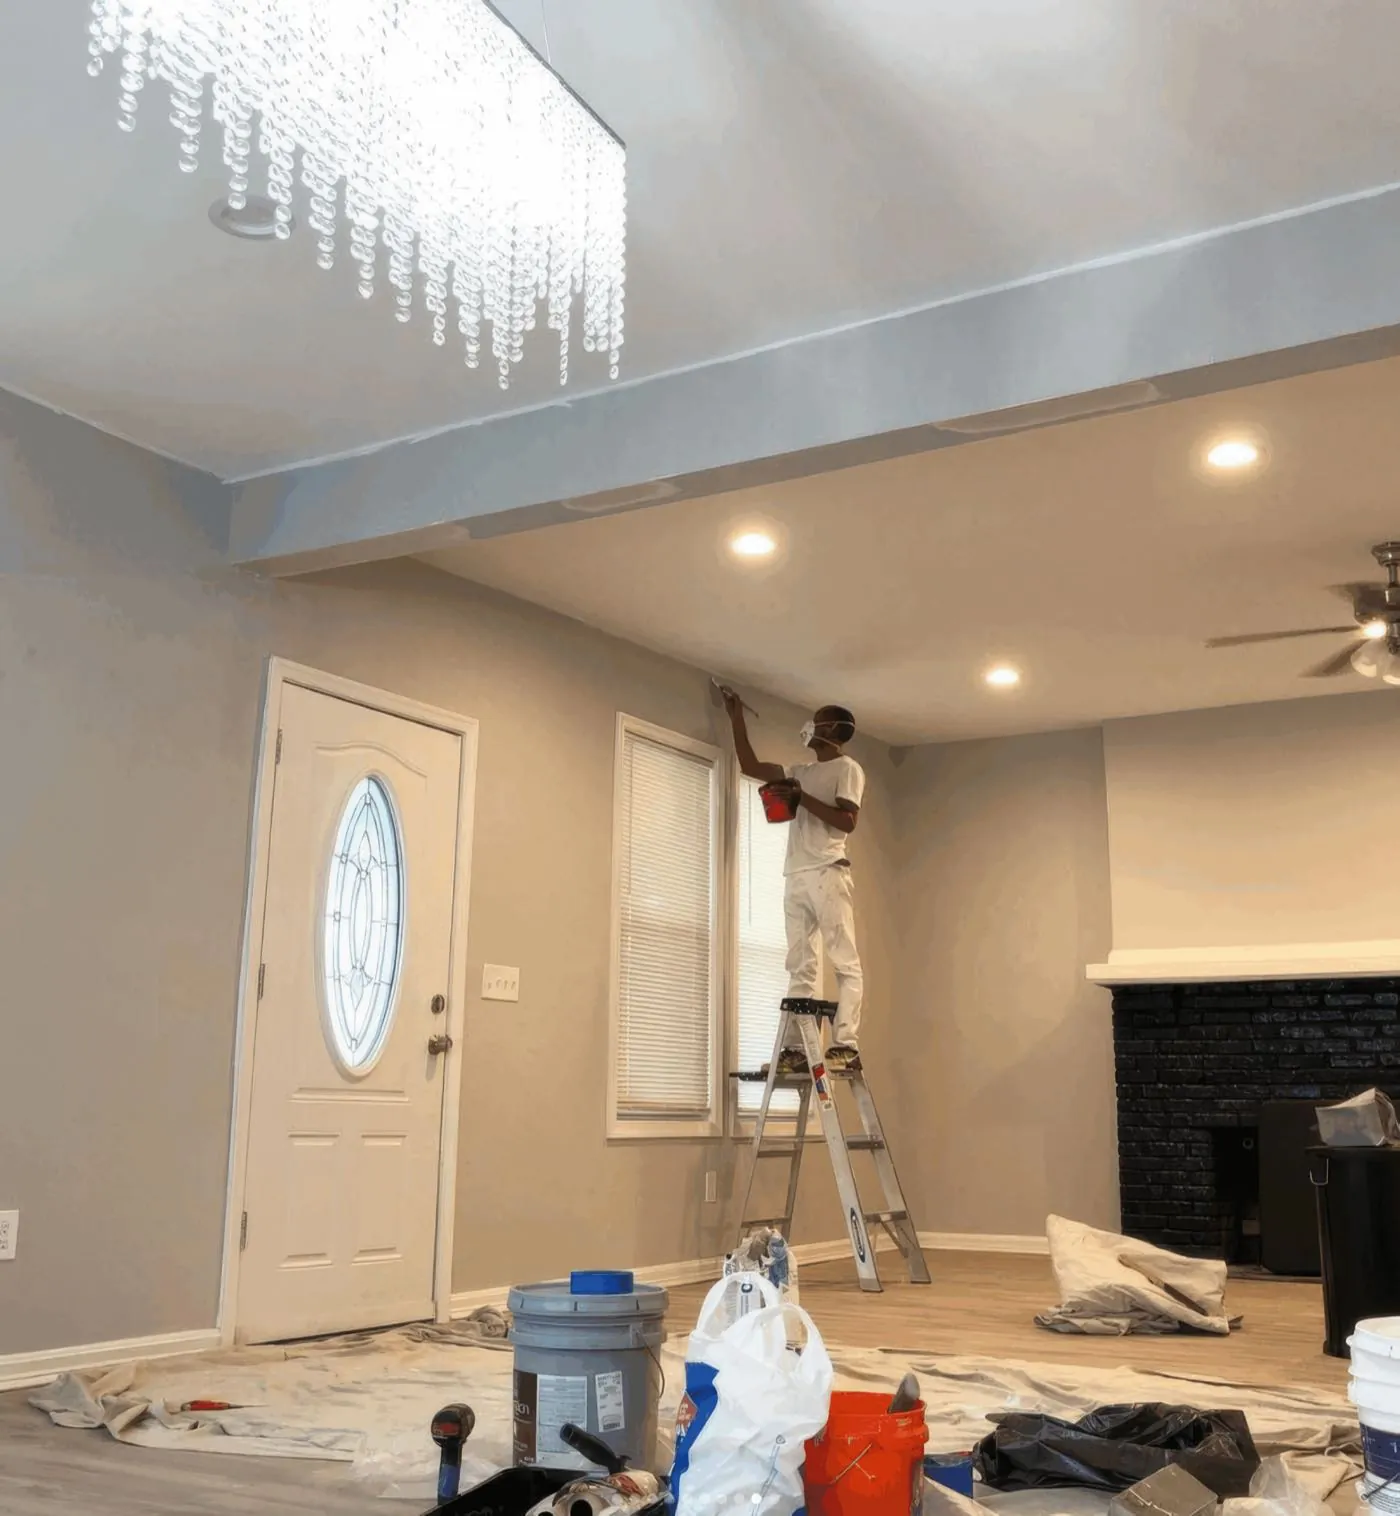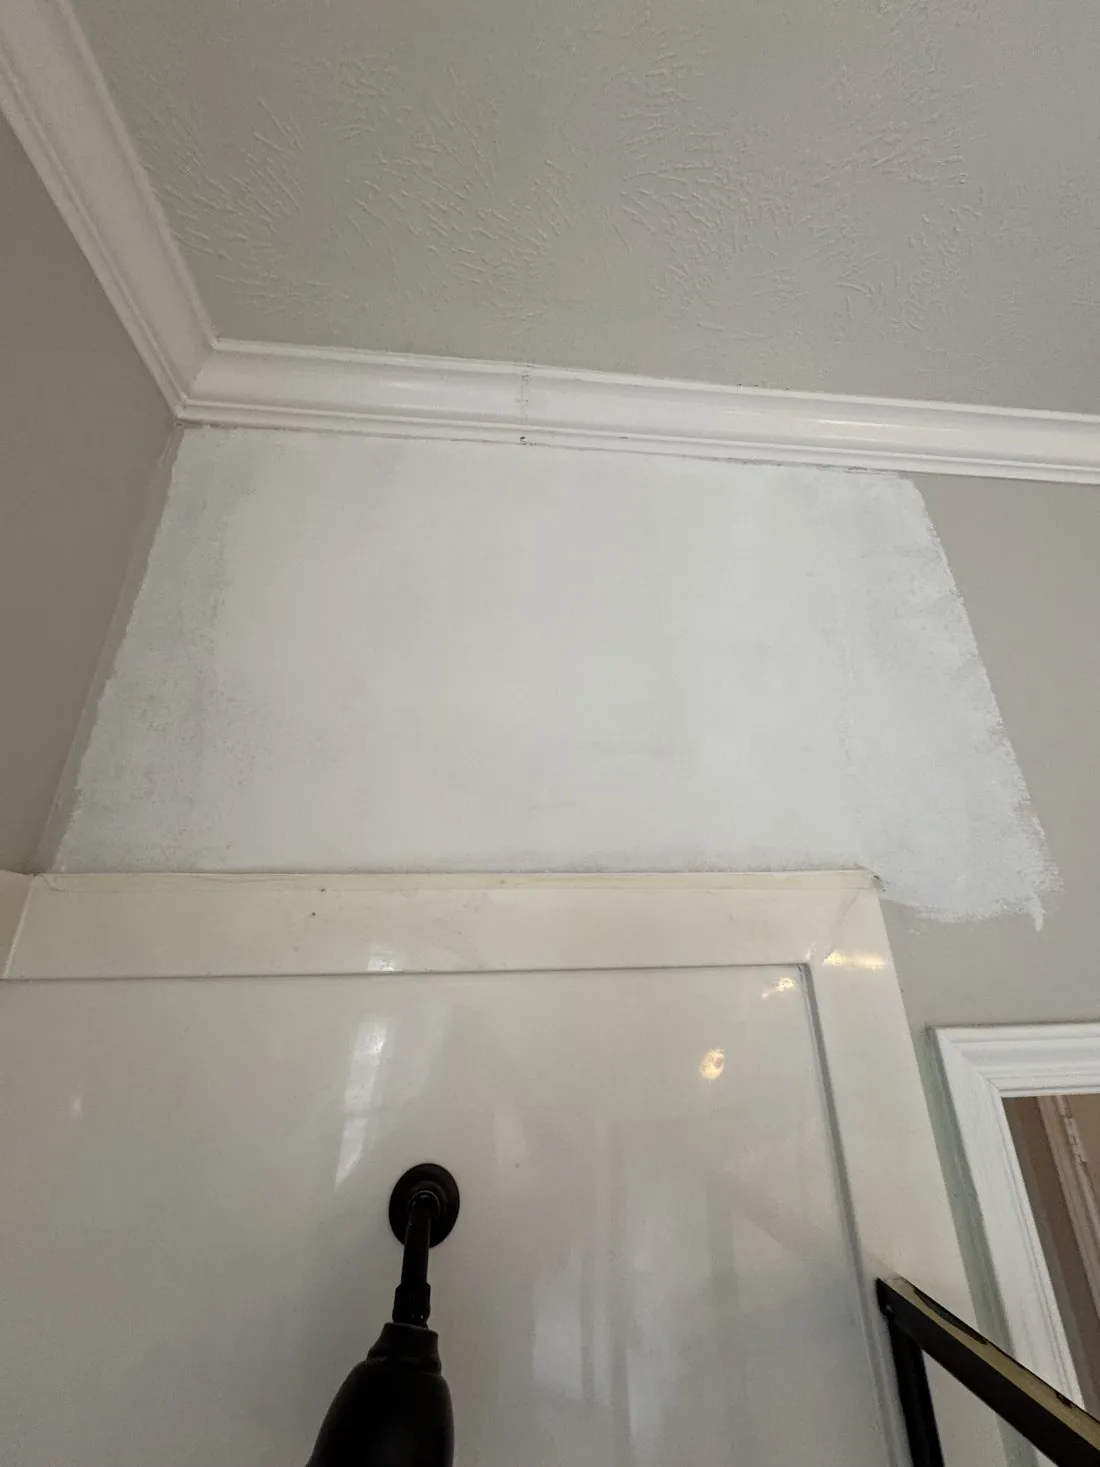
Trim is the frame around every wall, and it’s where a rushed paint job shows first. Chipped baseboards, brush marks on a door casing or a wavy line where the trim meets the wall can make a freshly painted room look unfinished. Painting trim well comes down to patience and preparation, and every step can be done with basic tools.
What you need to paint trim
Painting wood trim starts with the kit gathered before the first drop cloth goes down, so a half-painted door never waits on a trip to the store. Spend the money on the brush: on trim, its edge is what draws the line.
- An angled sash brush, about 2 inches wide
- A putty knife and wood filler for nail holes and dents
- A sanding sponge, 100 to 150 grit
- Paintable caulk and a caulk gun
- Painter’s tape, plus masking paper for floors and carpet
- Drop cloths and microfiber cloths
- A cleaner for grease and grime, or mild soap and water
- Primer for bare wood, filler, stains and slick old enamel
- Trim enamel in satin or semi-gloss
Should you paint the walls or the trim first?
Homeowners often ask whether to paint the trim or the walls first, and a common order is ceiling, then walls, then trim. A brush cutting a line onto a finished wall is easier to control than a roller trying to stay off fresh trim, and any wall paint that lands on the trim gets covered when the trim goes on last. A few jobs paint the trim first and cut the wall color in against it, but taping fresh trim paint is harder than taping a cured wall, which is part of why trim-last is the more common order.
Baseboards next to carpet need one extra step. Tuck the carpet down and away from the board with a wide putty knife as you go, or tape masking paper along the bottom edge, so the brush can reach the full face of the baseboard without dragging fibers into wet paint.
Is your old trim paint oil or latex?
Older trim is often finished in a hard, glossy oil-based enamel, and water-based paint can struggle to grip it. Sherwin-Williams warns that any coating applied over a hard, slick, glossy surface is likely to peel, and its fix works whichever paint is underneath: sand the gloss dull, and use a bonding primer if the surface still feels slick.
The same guidance suggests testing adhesion around any spot that has already peeled, in a 6 to 12 inch radius, before painting over it. If the old paint lifts when you test it, it has to come off before anything new goes on.
Check for lead before you sand old trim
If you can’t have the old paint tested first, work as though it contains lead. Mist the surface before sanding, as the EPA advises, keep children and pets out of the room while you work, and never dry-sand old paint you haven’t checked.
How to paint trim, step by step
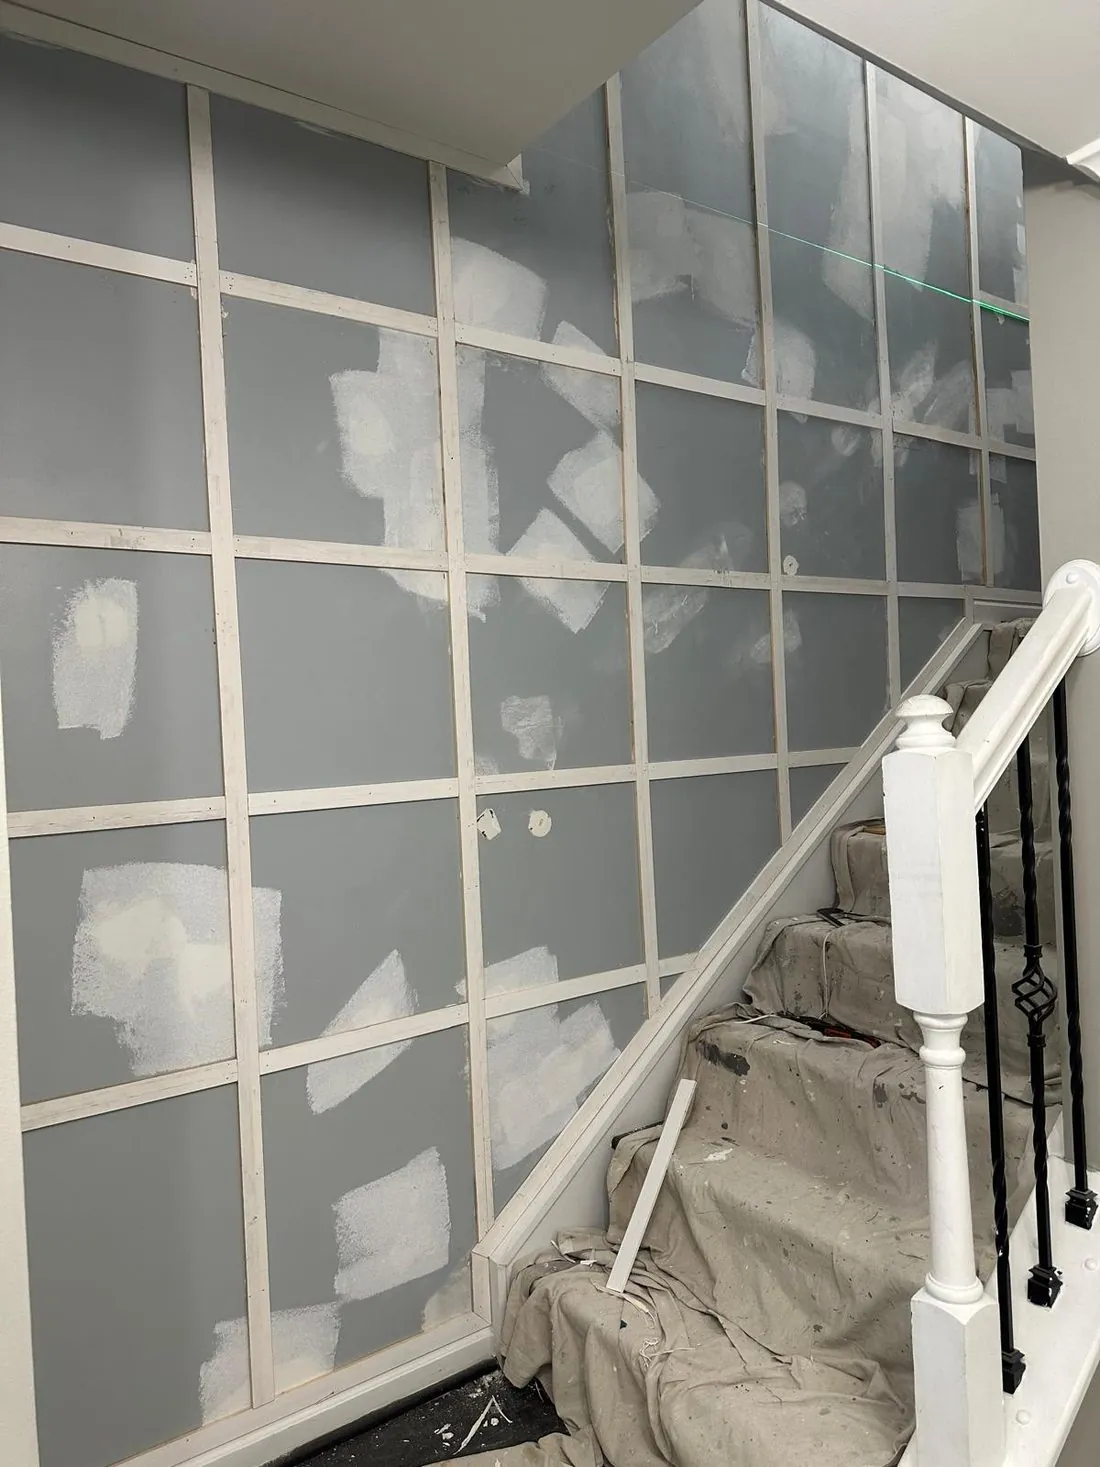
Paint your trim by working through these steps in order. Skipping ahead on the prep is what shows once the finish coat goes on.
- Protect the room. Lay drop cloths, tape masking paper along the floor under the baseboards, and move furniture away from the walls.
- Clean the trim. Grease and dust stop paint from sticking, so wipe it down and let it dry before anything else happens.
- Fill holes and dents. Press wood filler into nail holes and dings, leaving it slightly proud so it can be sanded flush.
- Sand. Sand the filler flush and dull any gloss on the old paint, then wipe away the dust.
- Caulk the gaps. Lay a thin bead of paintable caulk where the trim meets the wall, and smooth it before it skins over.
- Tape where you need it. Press tape down firmly along carpet and hard floors, where a clean edge matters most.
- Prime what needs it. Bare wood, filler, stains and slick old enamel all take primer before the finish.
- Paint along the grain. Load the tip of the brush, lay the paint on thin, and finish each stroke along the full length of the piece.
- Let it dry, then look. Check the coverage in good light and add another thin coat wherever the old color still shows.
- Pull the tape at a low angle. Peel it away slowly so the edge stays crisp.
“We were in need of a company to finish our baseboards in a time crunch, as the last touch before we moved back.” Lance Hensley, Google review
Is it better to paint trim with a brush or a roller?
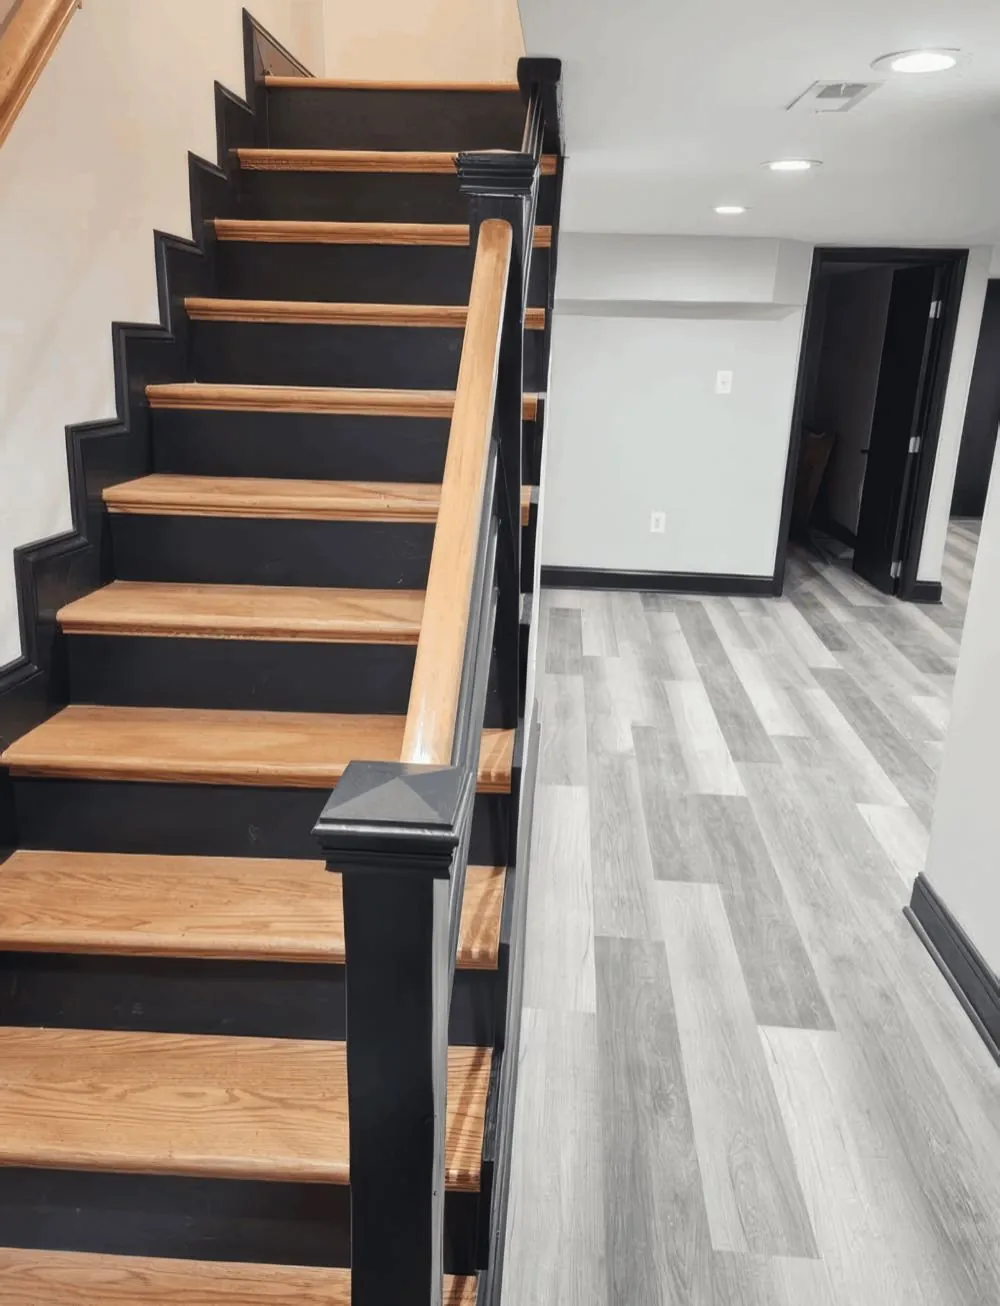
A brush does the detail work on trim: the profiles in a door casing, the corners where two pieces meet and the edge against the wall. A 2-inch angled sash brush gives the most control, while a flat brush tends to leave marks along an edge.
A small foam or microfiber roller earns its place on wide, flat pieces such as tall baseboards and flat door slabs, where it lays paint down quickly. Brush the paint out along the length of the board afterward, so no roller texture is left behind to catch the light.
Can you paint trim without tape?
Trim can be painted without tape once you’re comfortable cutting in. Dip only the bottom third of the bristles, tap off the excess, start the stroke a little away from the wall and let the bristles ease toward the line as you pull. Short, steady strokes make a straighter line than trying to paint a whole baseboard in one pass.
Tape still earns its keep along carpet and hard floors, where a slip leaves paint on something that can’t be wiped off. Cutting the tape to length with a putty knife gives it a straighter edge, and pressing it down firmly stops paint from creeping underneath.
What is the best paint finish for trim?
Satin or semi-gloss is the best paint finish for trim, because baseboards, casings and doors get knocked, handled and wiped far more than walls do. The Master Painters Institute measures satin at 20 to 35 gloss units at a 60 degree angle and semi-gloss at 35 to 70, though the sheen names themselves aren’t standardized from brand to brand. Trim, white or any other color, still needs the same dulling and priming before the finish coat goes on.
Semi-gloss
35 to 70 gloss units. Wipes clean easily, and shows every dent.
Satin
20 to 35 gloss units. Kinder to older trim with dings and filler.
Flat
5 units or less. It holds dirt and scuffs, so it's rarely right for trim.
Same batch
Touch-ups blend best from the batch used on the original coat.
Rise and Prime works with Sherwin-Williams Emerald for trim, and the Emerald Urethane Trim Enamel data sheet asks for temperatures above 50°F, lists 4 hours to recoat at 77°F and 50% relative humidity, and notes that times stretch in cooler or damper air. On the walls between the trim, the best paint finish for walls follows a different set of trade-offs.
Common trim problems, and how to avoid them
- Drips and sags come from a heavy brush load. Keep the paint to the tip of the brush and check the lower edges of each piece before it dries.
- Brush marks come from overworking paint that has started to set. Lay it on thin, finish along the grain, and leave it alone.
- Tape that pulls paint off usually went onto a wall that hadn’t dried long enough. Give fresh wall paint time before taping over it.
- Caulk that looks lumpy starts at the nozzle. Cut the tip at an angle, keep the bead thin and smooth it right away.
Exterior trim in heat and humidity
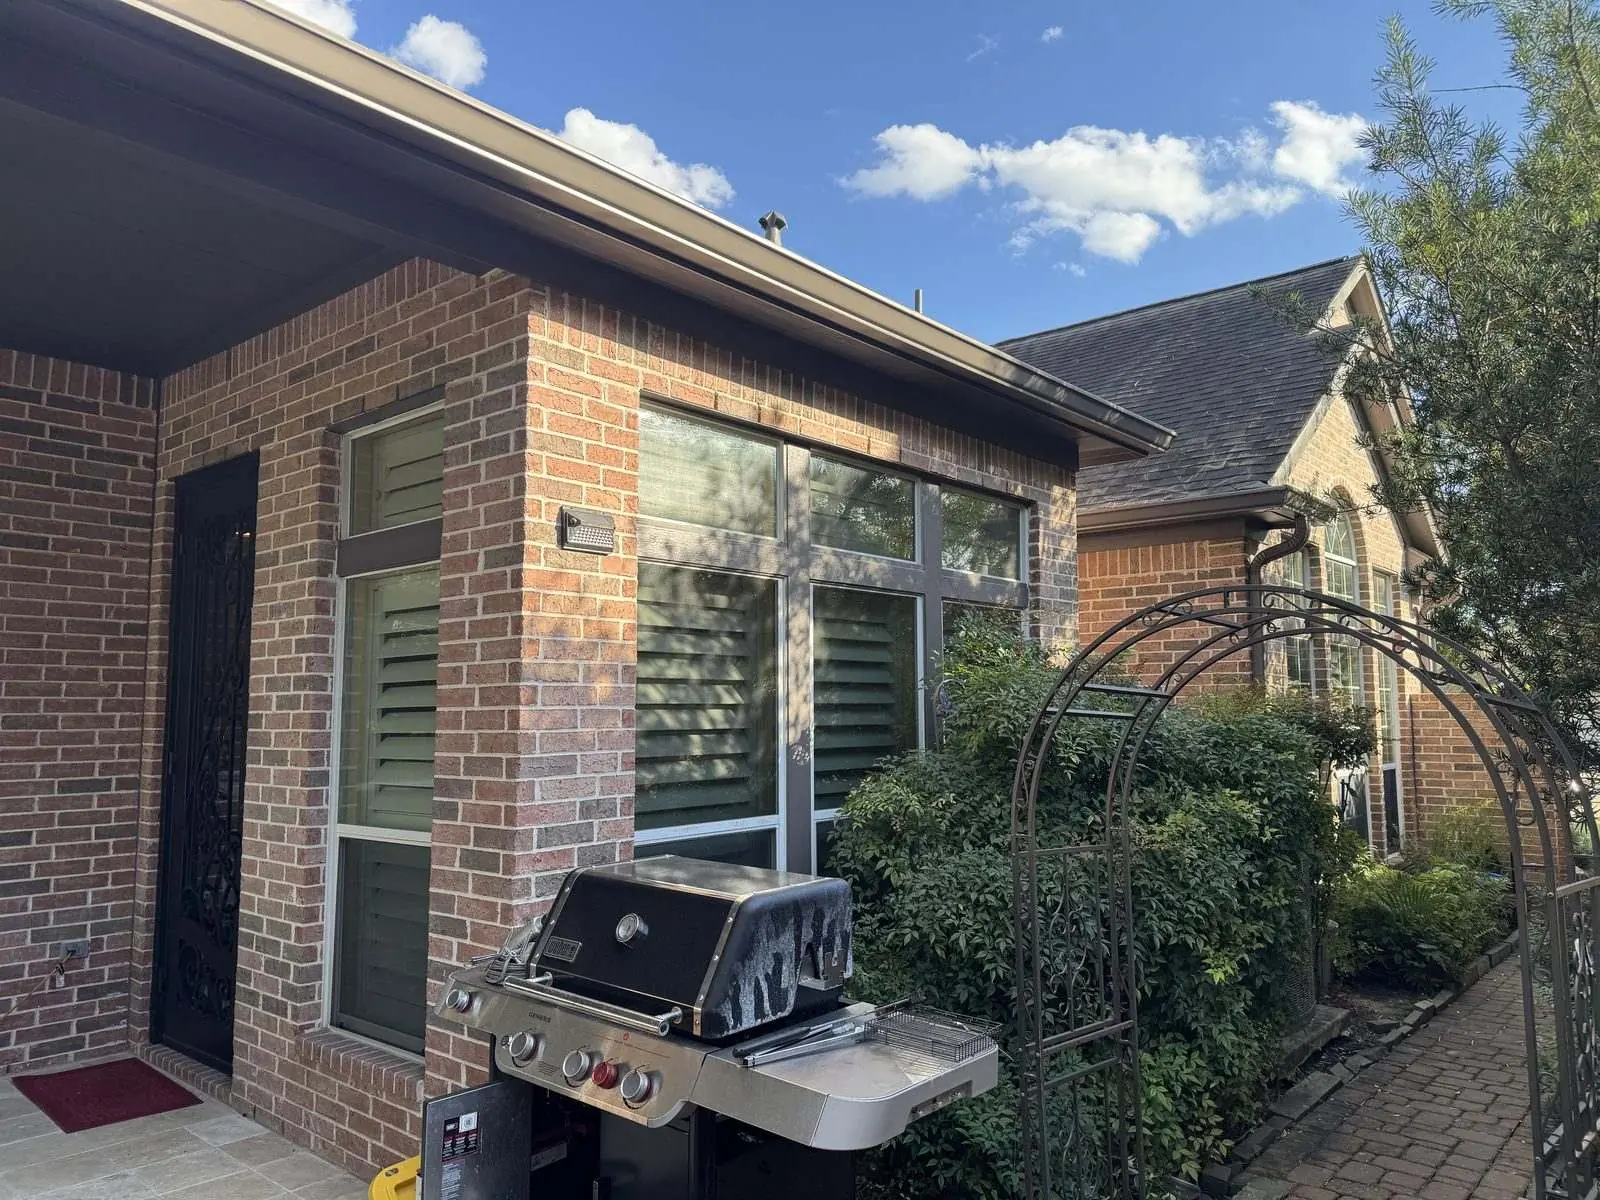
Outside, trim takes the weather as well as the knocks. The Sherwin-Williams Duration data sheet warns against painting in direct sun and notes that above 80°F the coating sets up quickly, so paint trim on the shaded side of the house and work from a dry section into the adjoining wet one.
Window trim and sills
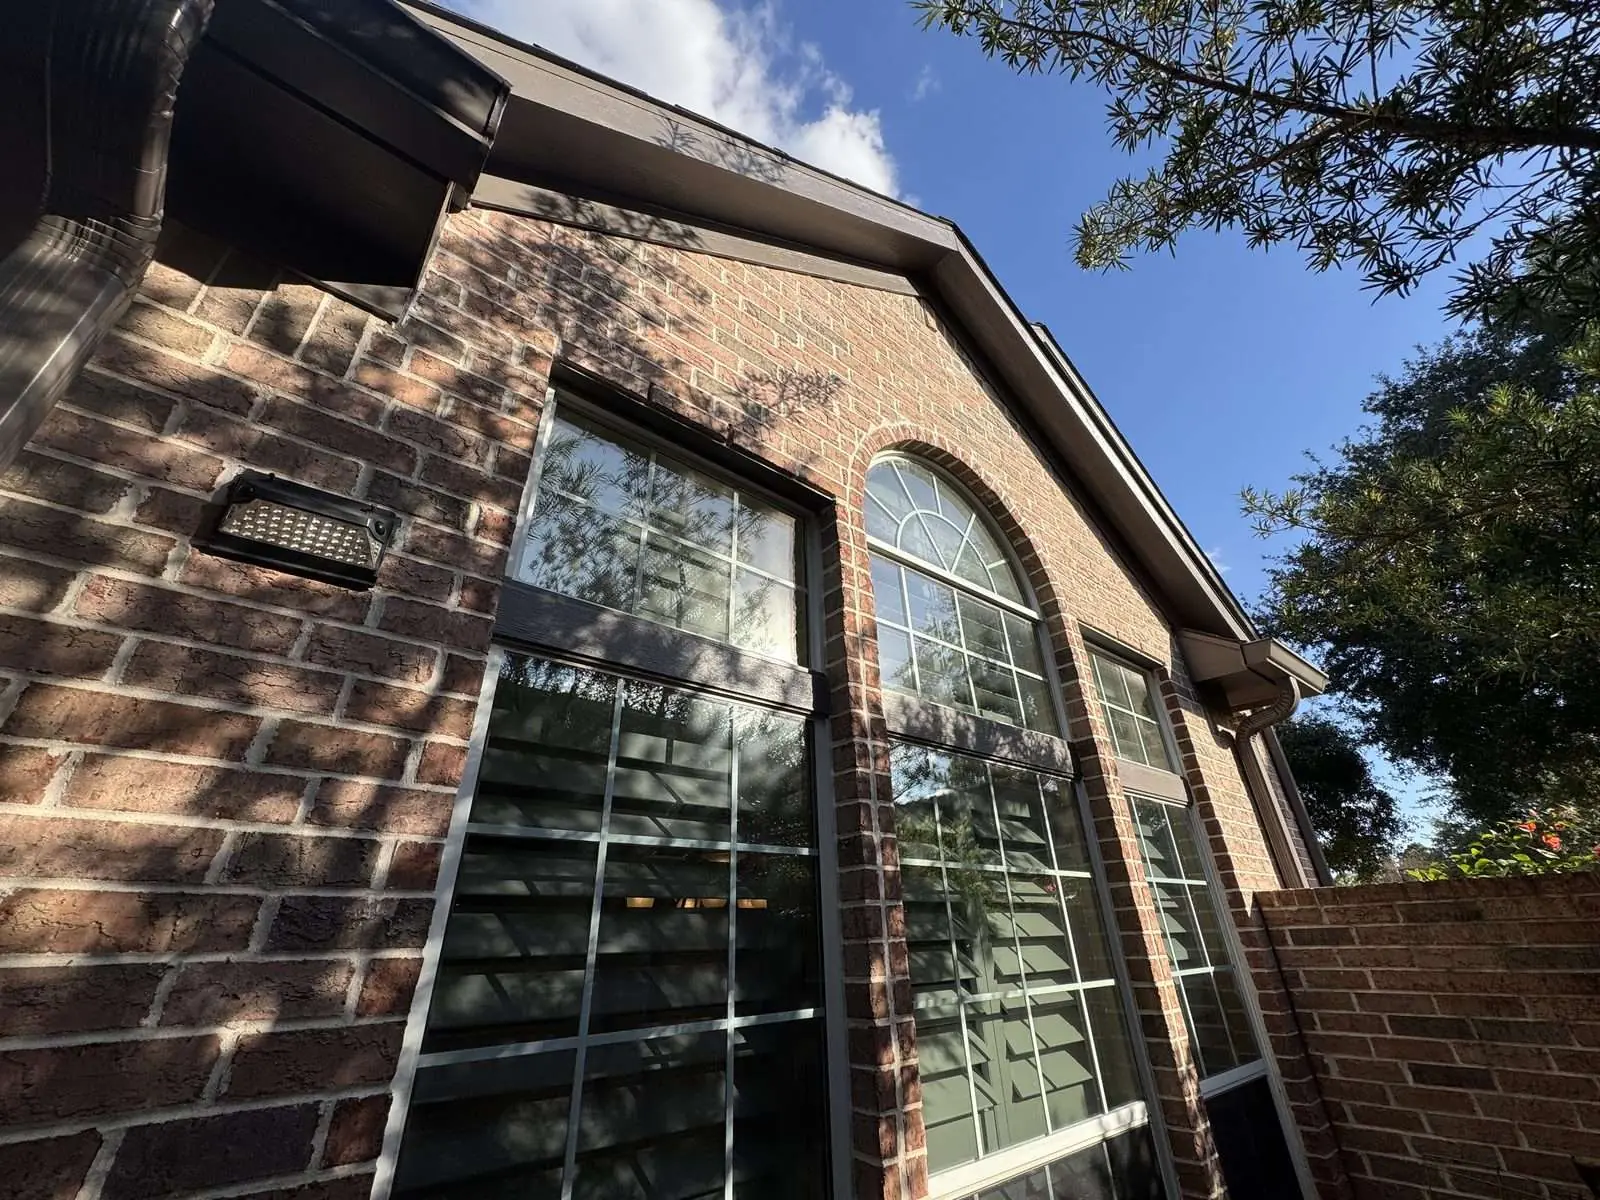
Wood trim and window sills hold water longer than the wall around them, so they need the closest look. Replace soft wood before any paint goes on, and read the best exterior paint for humid climates for the coating and the conditions on paint day.
If you’d rather not spend a weekend on a ladder, interior house painting in Houston includes the trim, doors and casings, exterior house painting in Houston covers window trim, fascia and soffits, and the painting cost calculator gives a ballpark for trim, doors and windows before anyone comes out.